More Details
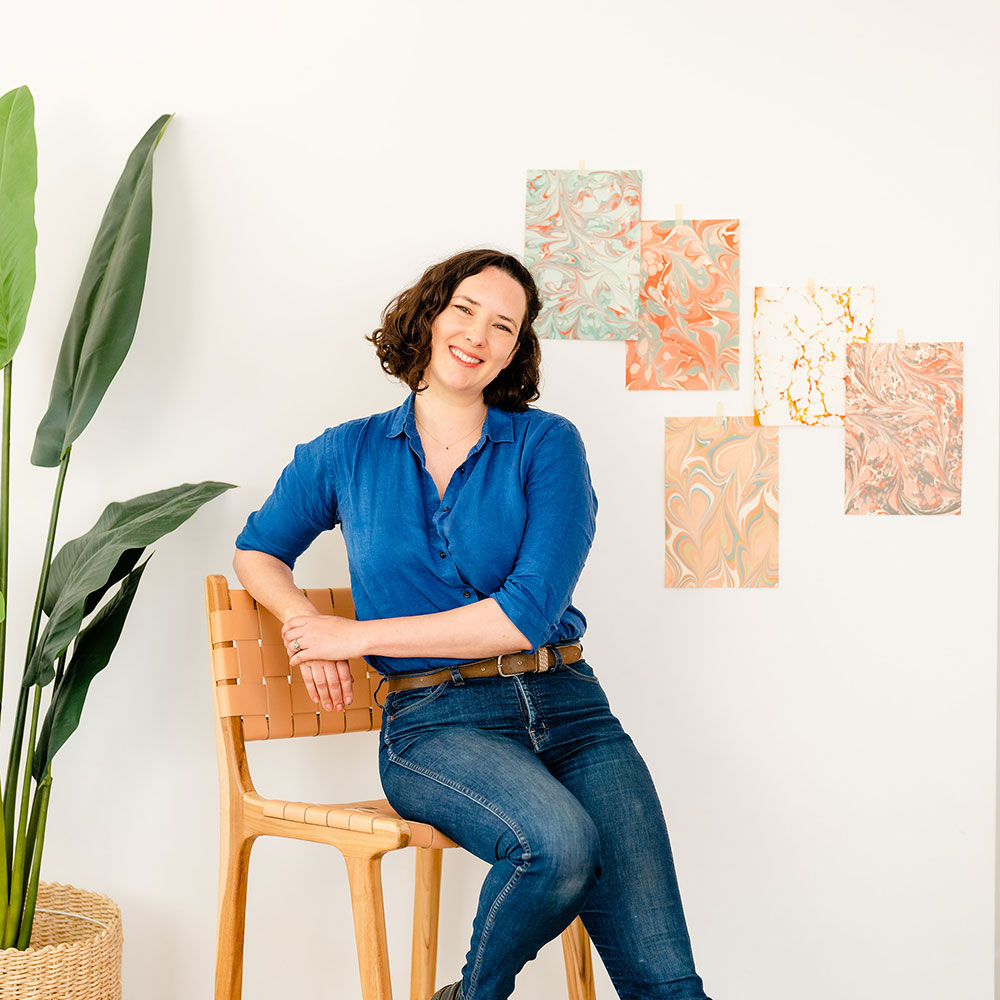
NATALIE STOPKA
PAPER MARBLING
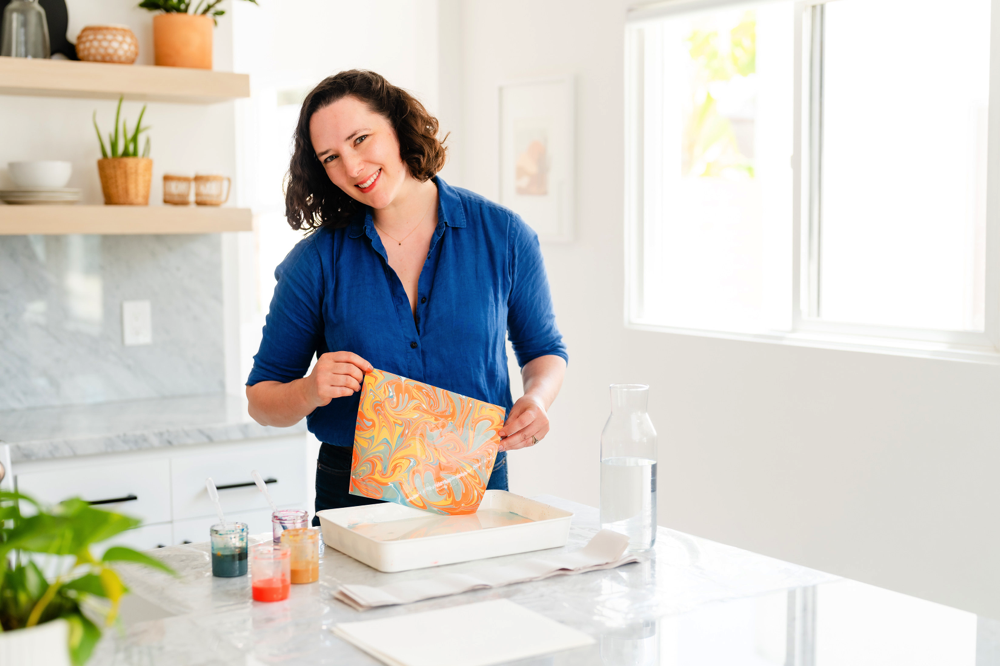
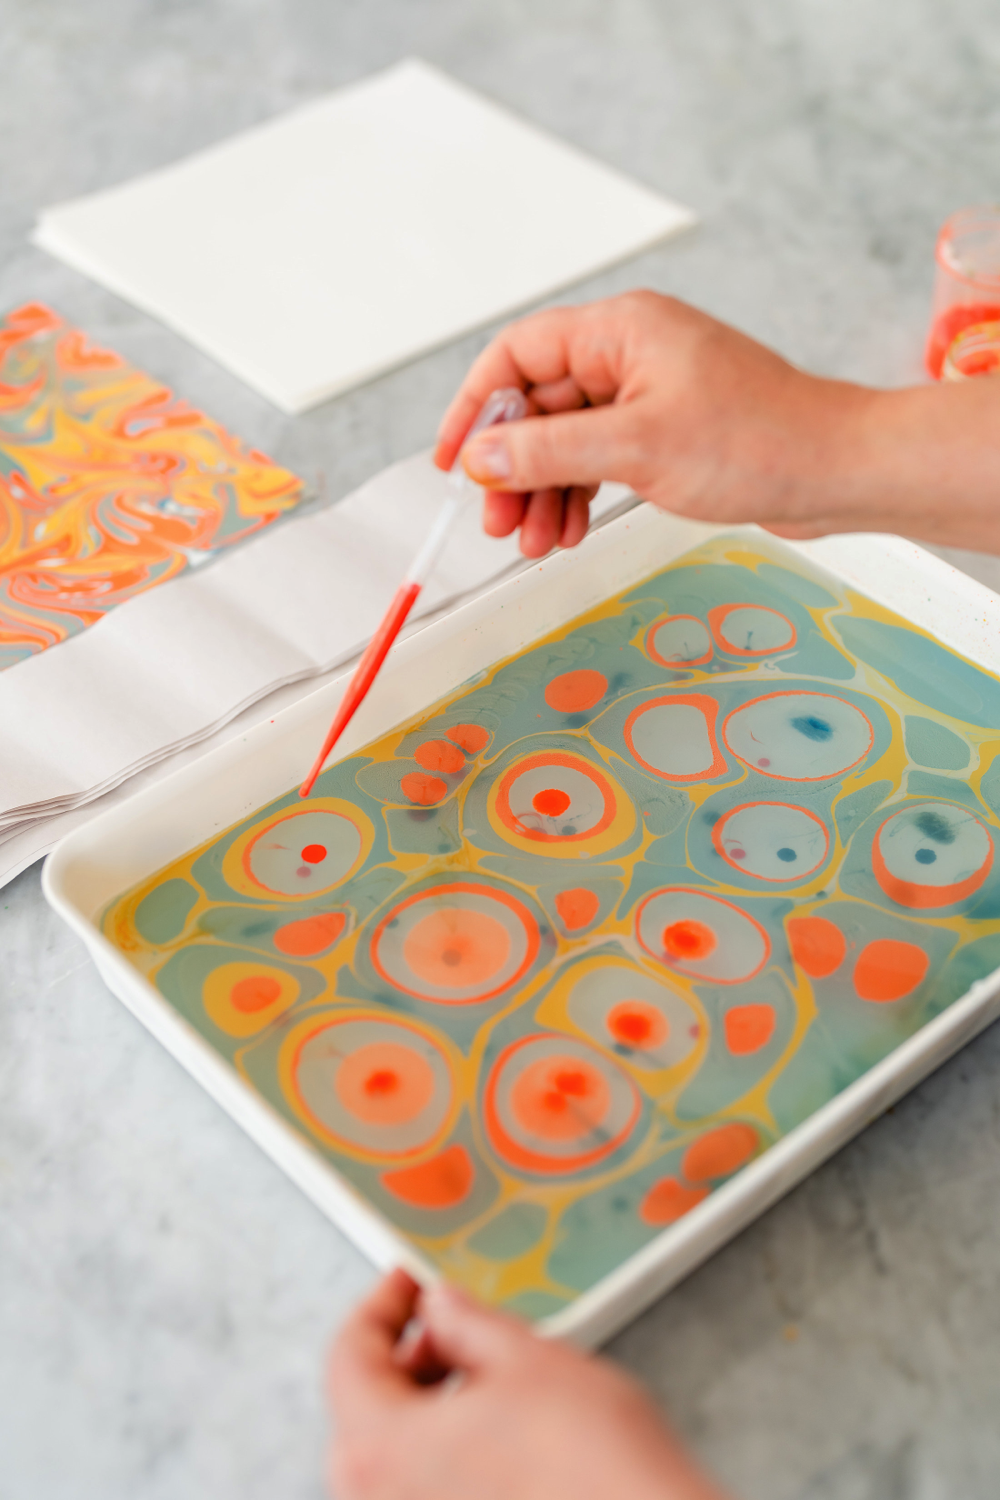
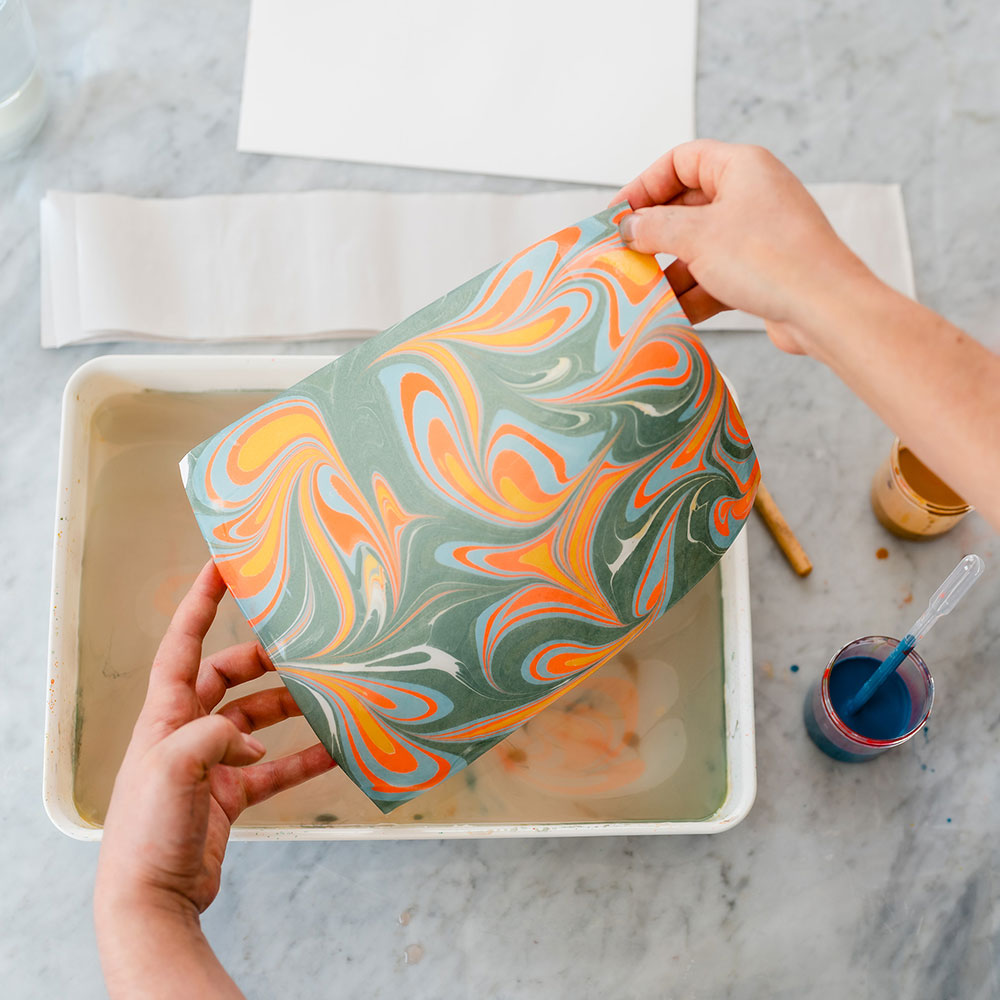
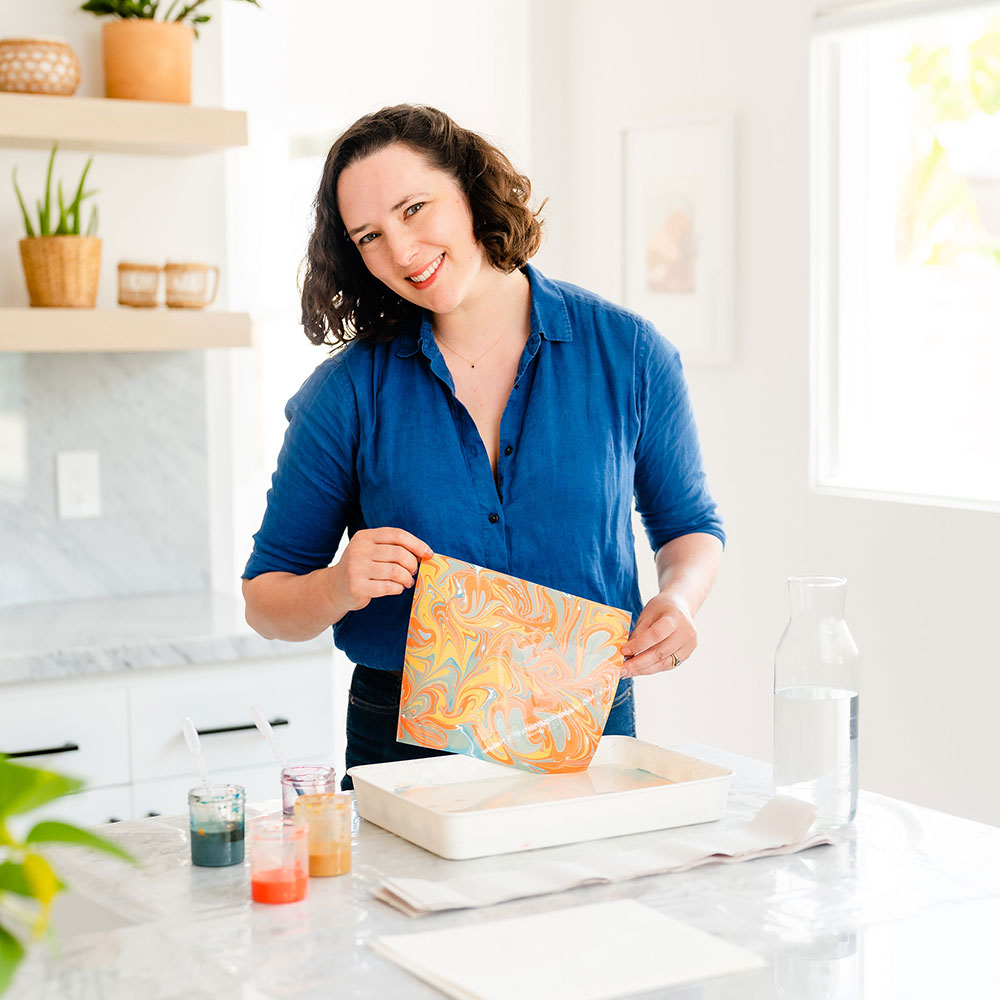
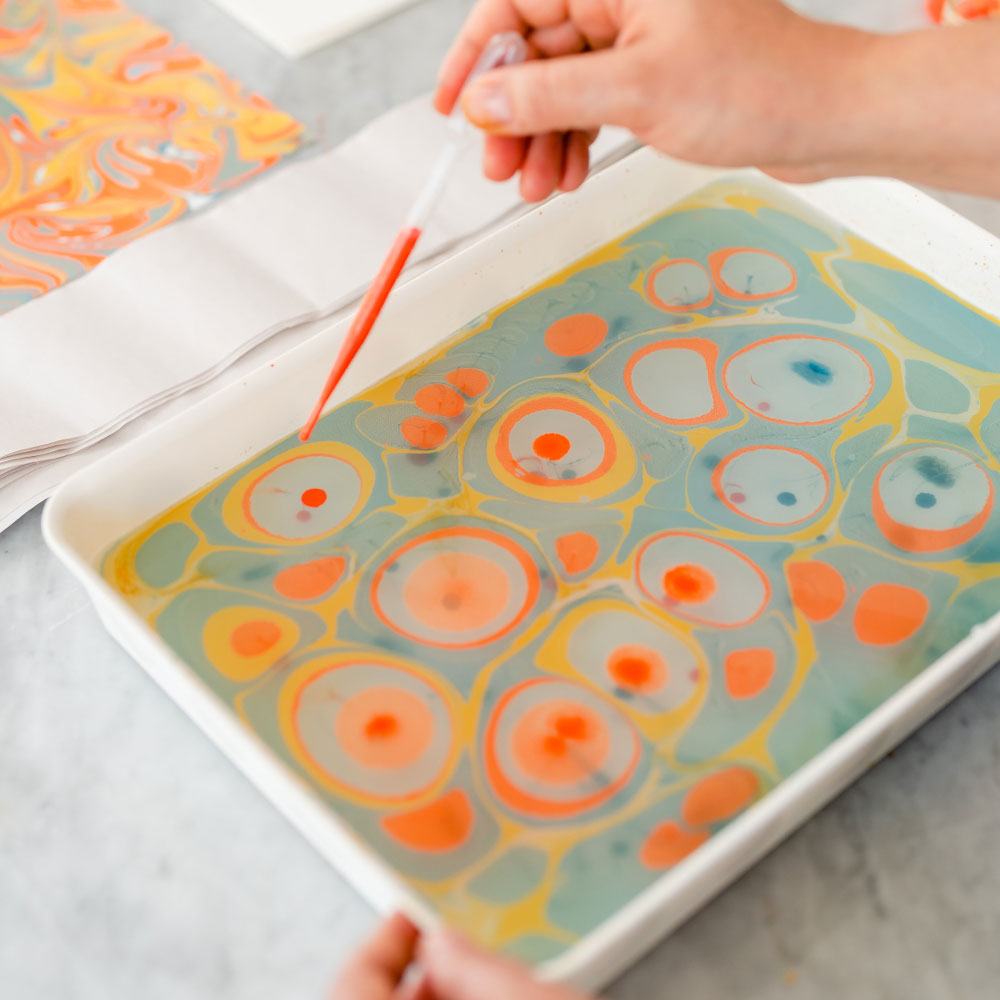
In this workshop, Natalie takes us through every step of the paper marbling process, starting with preparing our paper using a mordant. We then learn to mix paints and prepare our size (the viscous liquid that goes in our tray). Natalie shares several historic marbling techniques and teaches us how to play with designs for a polished result.
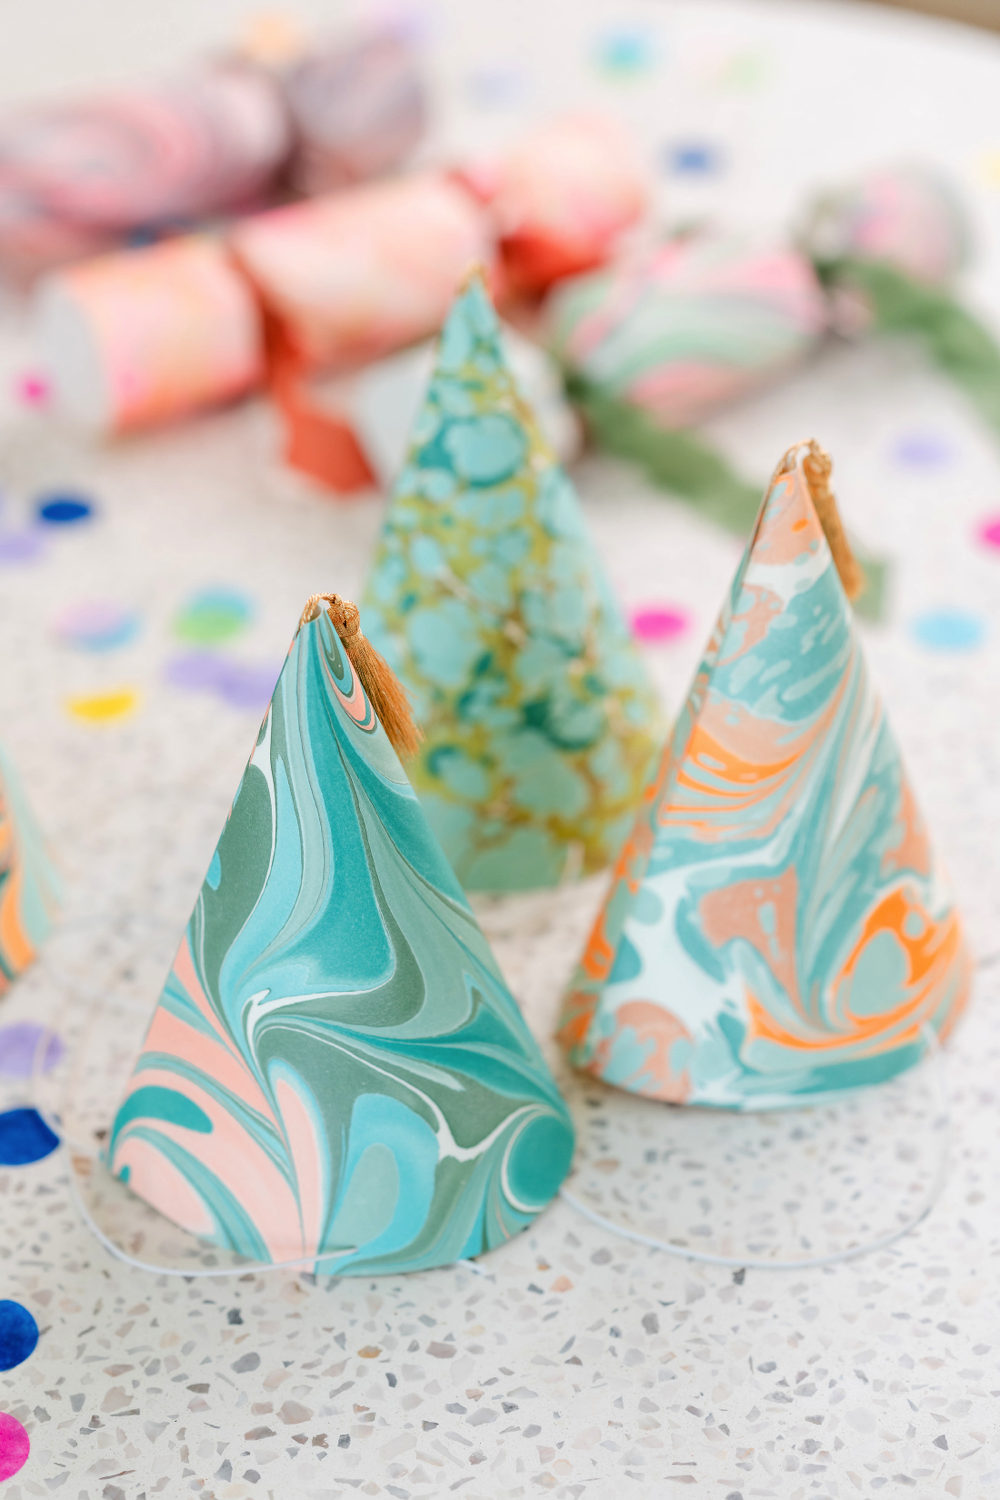
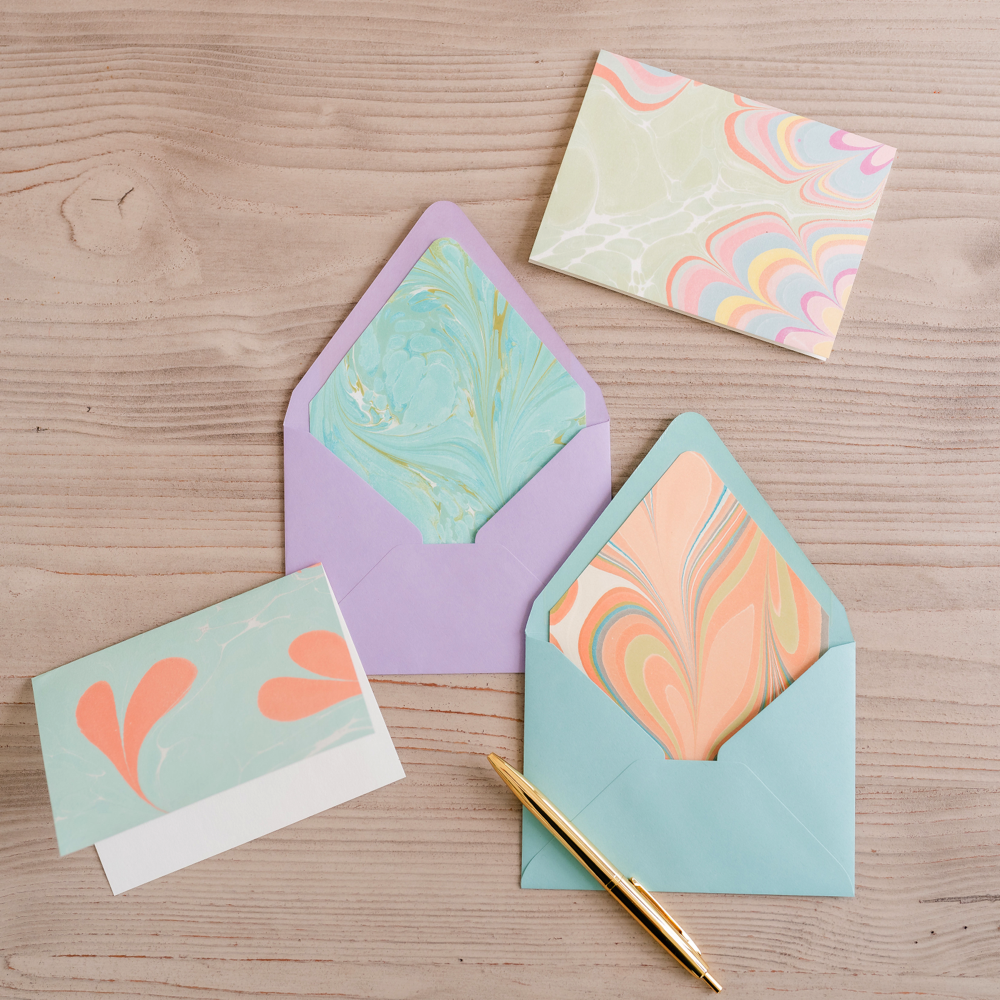
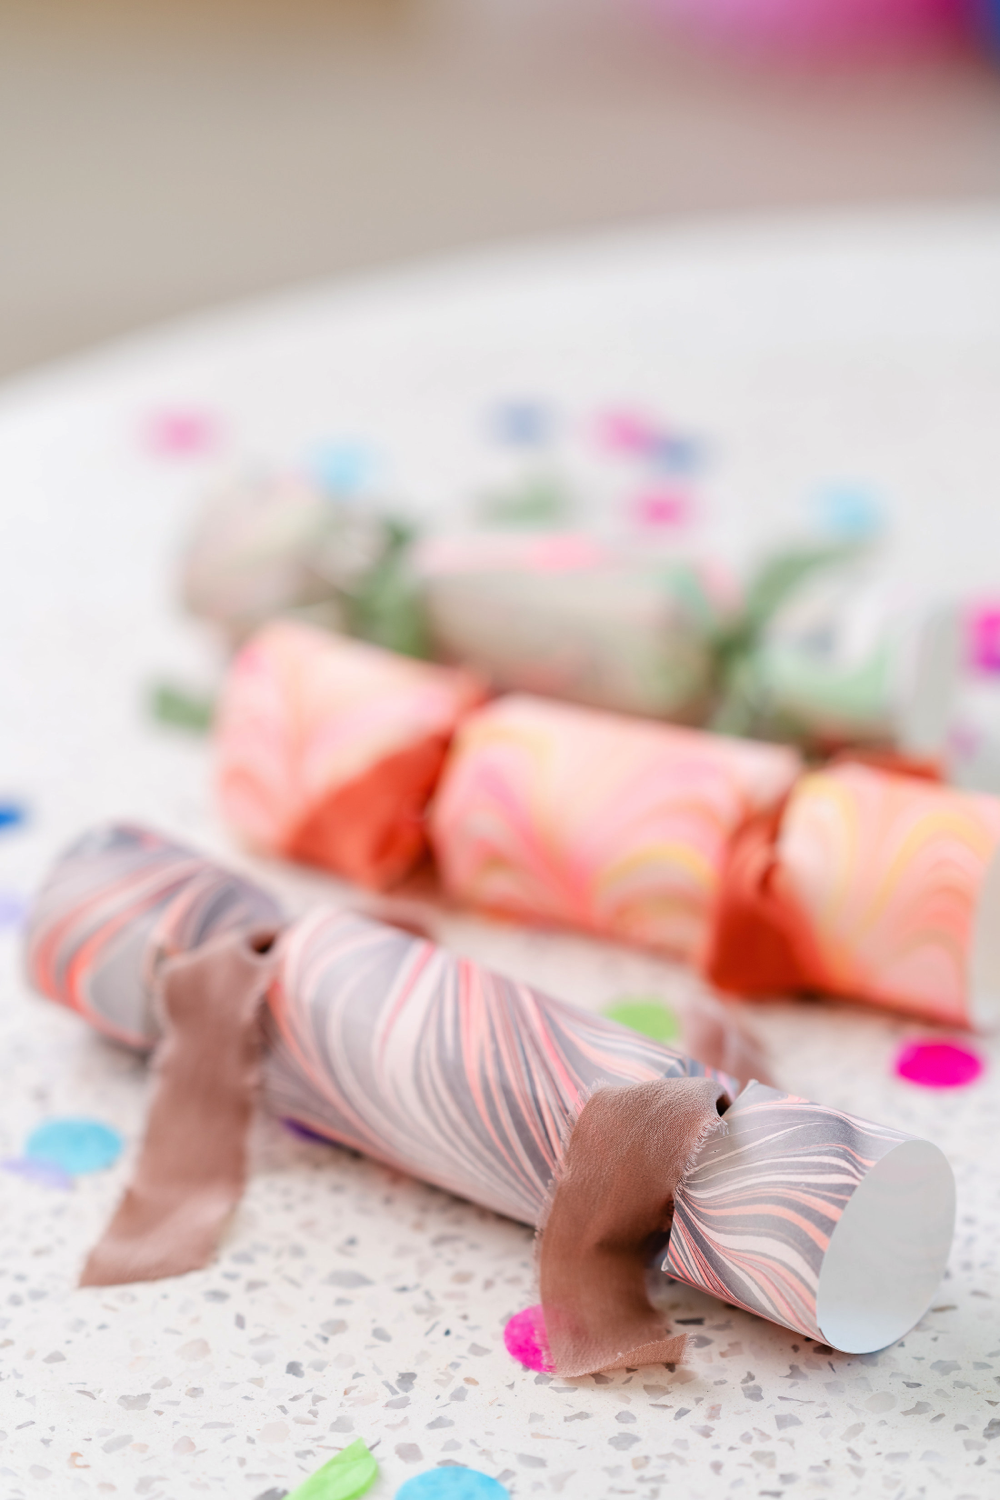
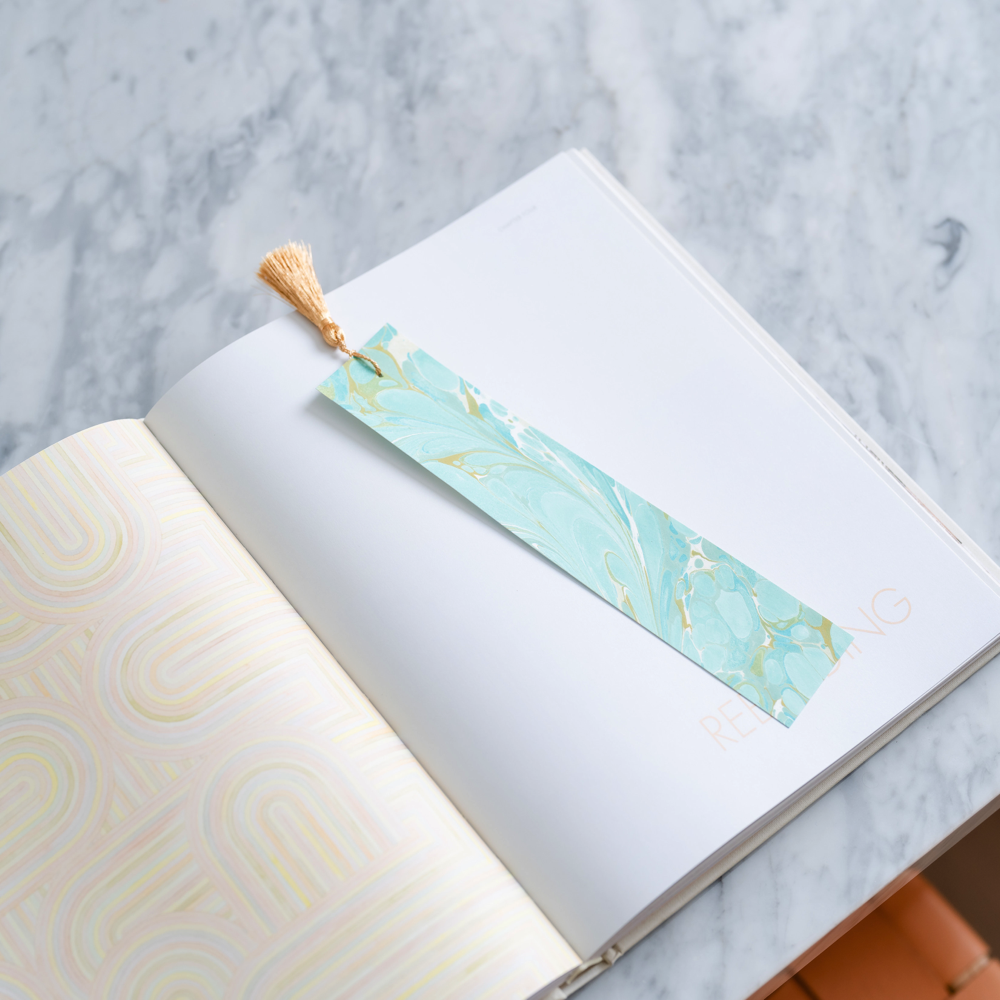
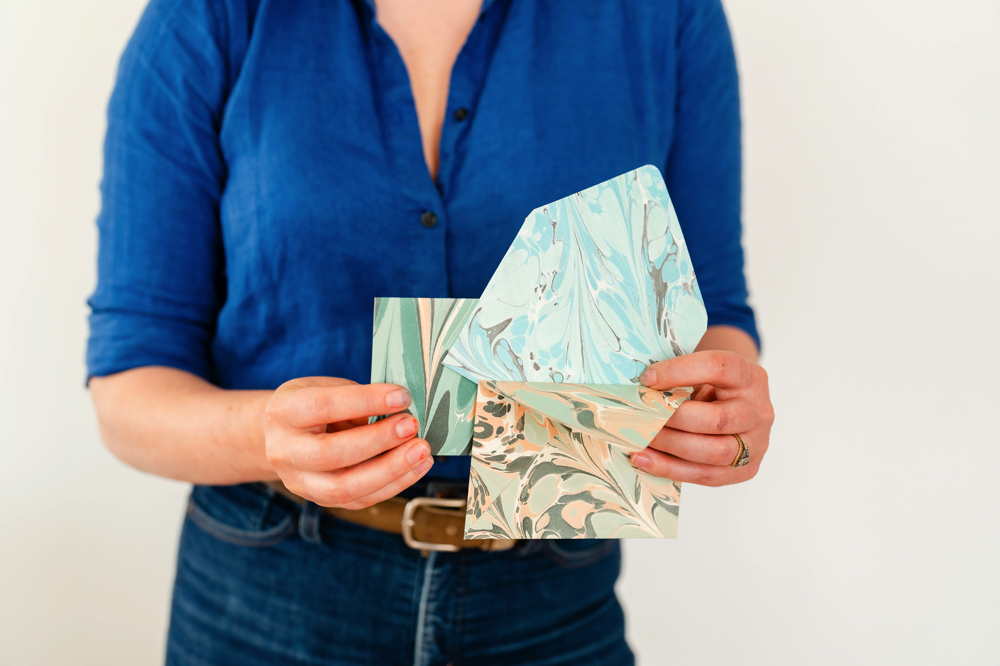
Once finished, we learn how to make an envelope with our marbled paper using the included template. Use the marbled creations for any paper craft you can dream up including bookmarks, stationery, and notecards. Natalie encourages us to have fun with our designs as we work, sharing “Is it beautiful? Is it ghastly? Don’t pass judgment until you have a print.”
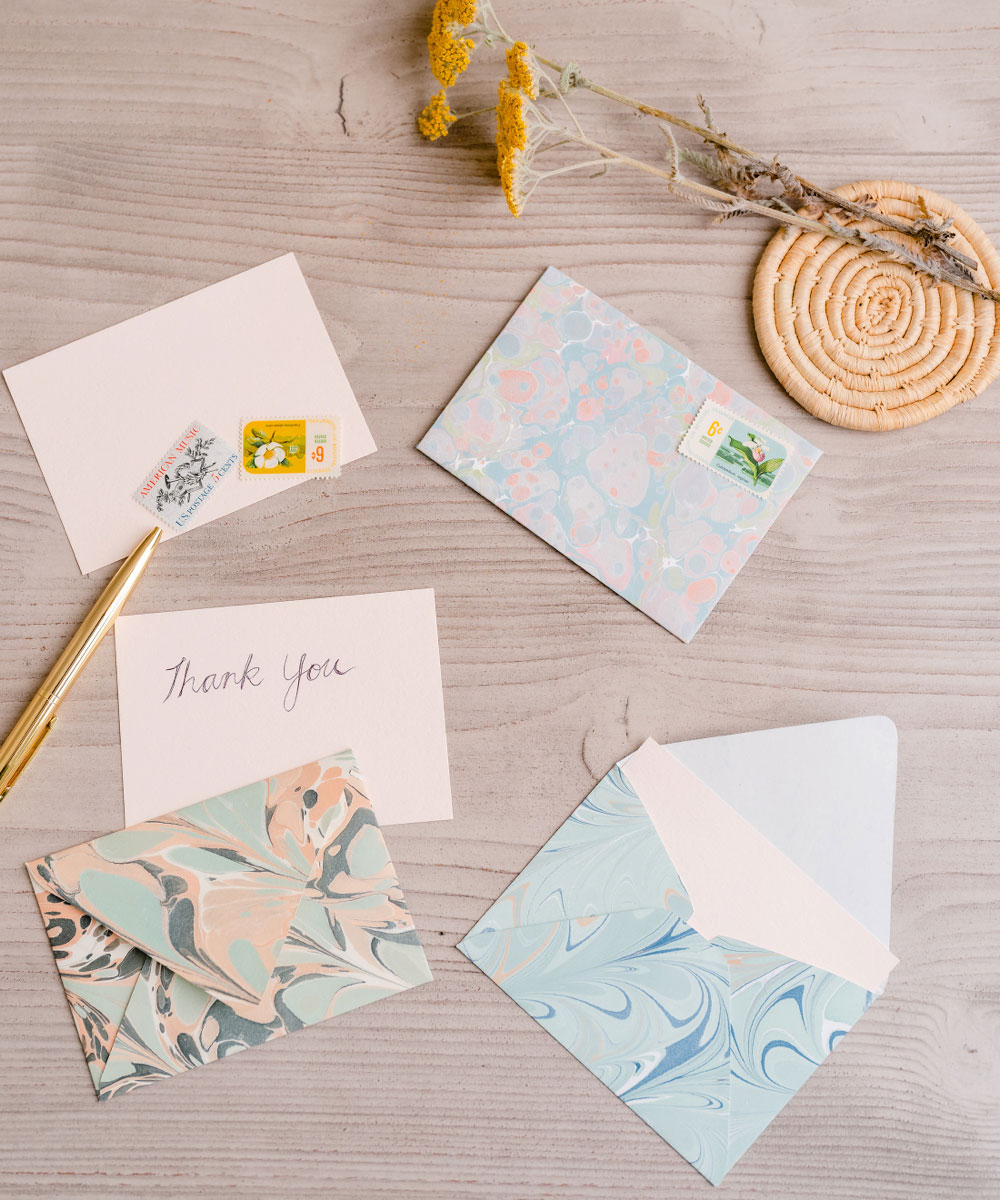
PAPER MARBLING KIT
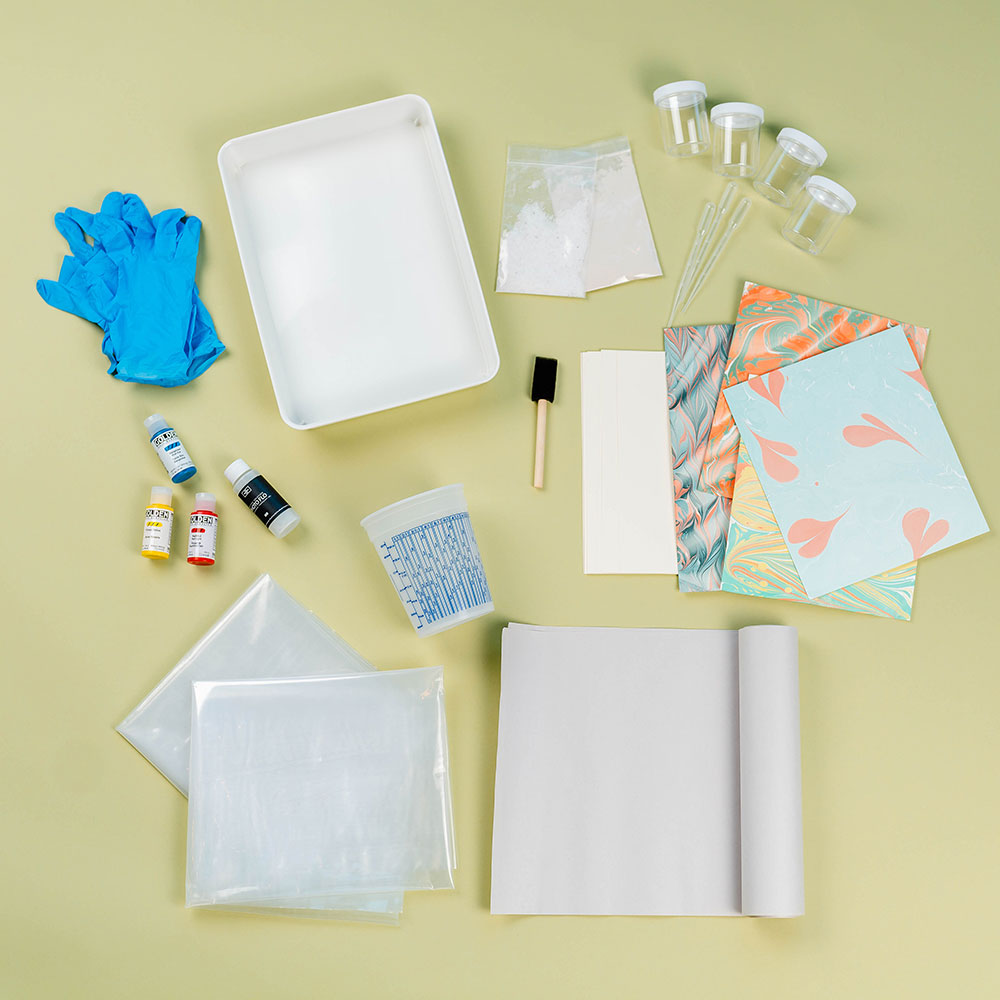
Natalie has been paper marbling for a decade—she first discovered the artform while studying book binding. With her extensive knowledge of both the chemistry and artistry behind the craft, Natalie has curated a kit that includes everything needed to get started in paper marbling, including heavyweight paper, acrylic paints, a marbling tray, and mixing supplies. The aluminum sulfate, carrageenan , and Photo Flo are used to get the optimal surface tension and viscosity throughout the paper preparation and painting process.
THE SCIENCE OF PAPER MARBLING
Not only does Natalie share a detailed and thorough tutorial of the paper marbling process, but she also explains the fascinating chemistry that makes this artform come to life. Let’s learn more about some kit components that may be unfamiliar to you. Aluminum sulfate is used to prepare the paper, it bonds to both the surface of the paper fibers as well as the paint to create a permanent and lightfast print. Natalie shares that it is “chemically charged to bond to other molecules” and is used to create a “mordant” that coats the surface of the paper.
Carrageenan is a natural derivative of seaweed and creates a viscous liquid for our tray that has a higher surface tension than water alone. Photo Flo is a surfactant added to certain paint colors in order to decrease surface tension and let the paints float long enough to manipulate into a design. And here’s where the magic happens! The low surface tension of the paints combined with the high surface tension of the size allow for us to get creative with marbling patterns and create each unique print.
More About the Artist: Natalie Stopka
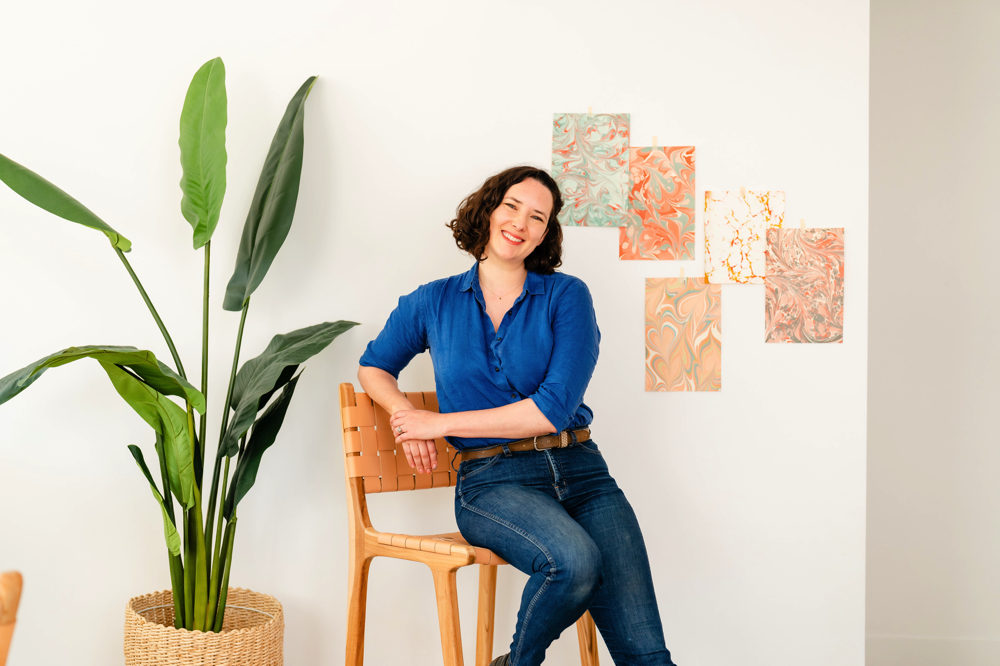
Natalie Stopka is an artist and educator focused on historical surface patterning techniques including marbling, dyeing, and printmaking. She loves to explore natural and historical colorants, incorporating botanical dyes and handmade pigments in her work.
Homegrown and foraged plants provide a seasonally evolving vocabulary of texture and color generated from the soil beneath her studio and the water moving through it. Natalie’s freelance studio and dye garden are located in Yonkers, New York.
Share with us! We look forward to sharing this fulfilling and joyful experience with you and cannot wait to see how your crepe paper flowers turn out. Be sure to share your creative journey and finished creation with us by tagging @thecraftersbox and @nataliestopka in your social posts, and use #thecraftersbox so our community can also see your workshop come to life! Happy making.
